Install a dummy CCTV (Closed Circuit Television) security camera at your home or business by re-purposing or transforming an older / outdated / poor condition camera into a modern-looking LED fitted camera.
See our step-by-step video: https://youtu.be/dp0LzEWVydM
Older type CCTV security cameras actually contain old-fashioned video cameras very unlike the plethora of modern, more sophisticated and technologically advanced models on the market today. 
DON’T THROW THEM AWAY. Turn them into very effective dummy cameras that will create the impression that they are monitoring your every move. Herewith the 10 easy steps to bring them well and truly into the modern era.

STEP 1
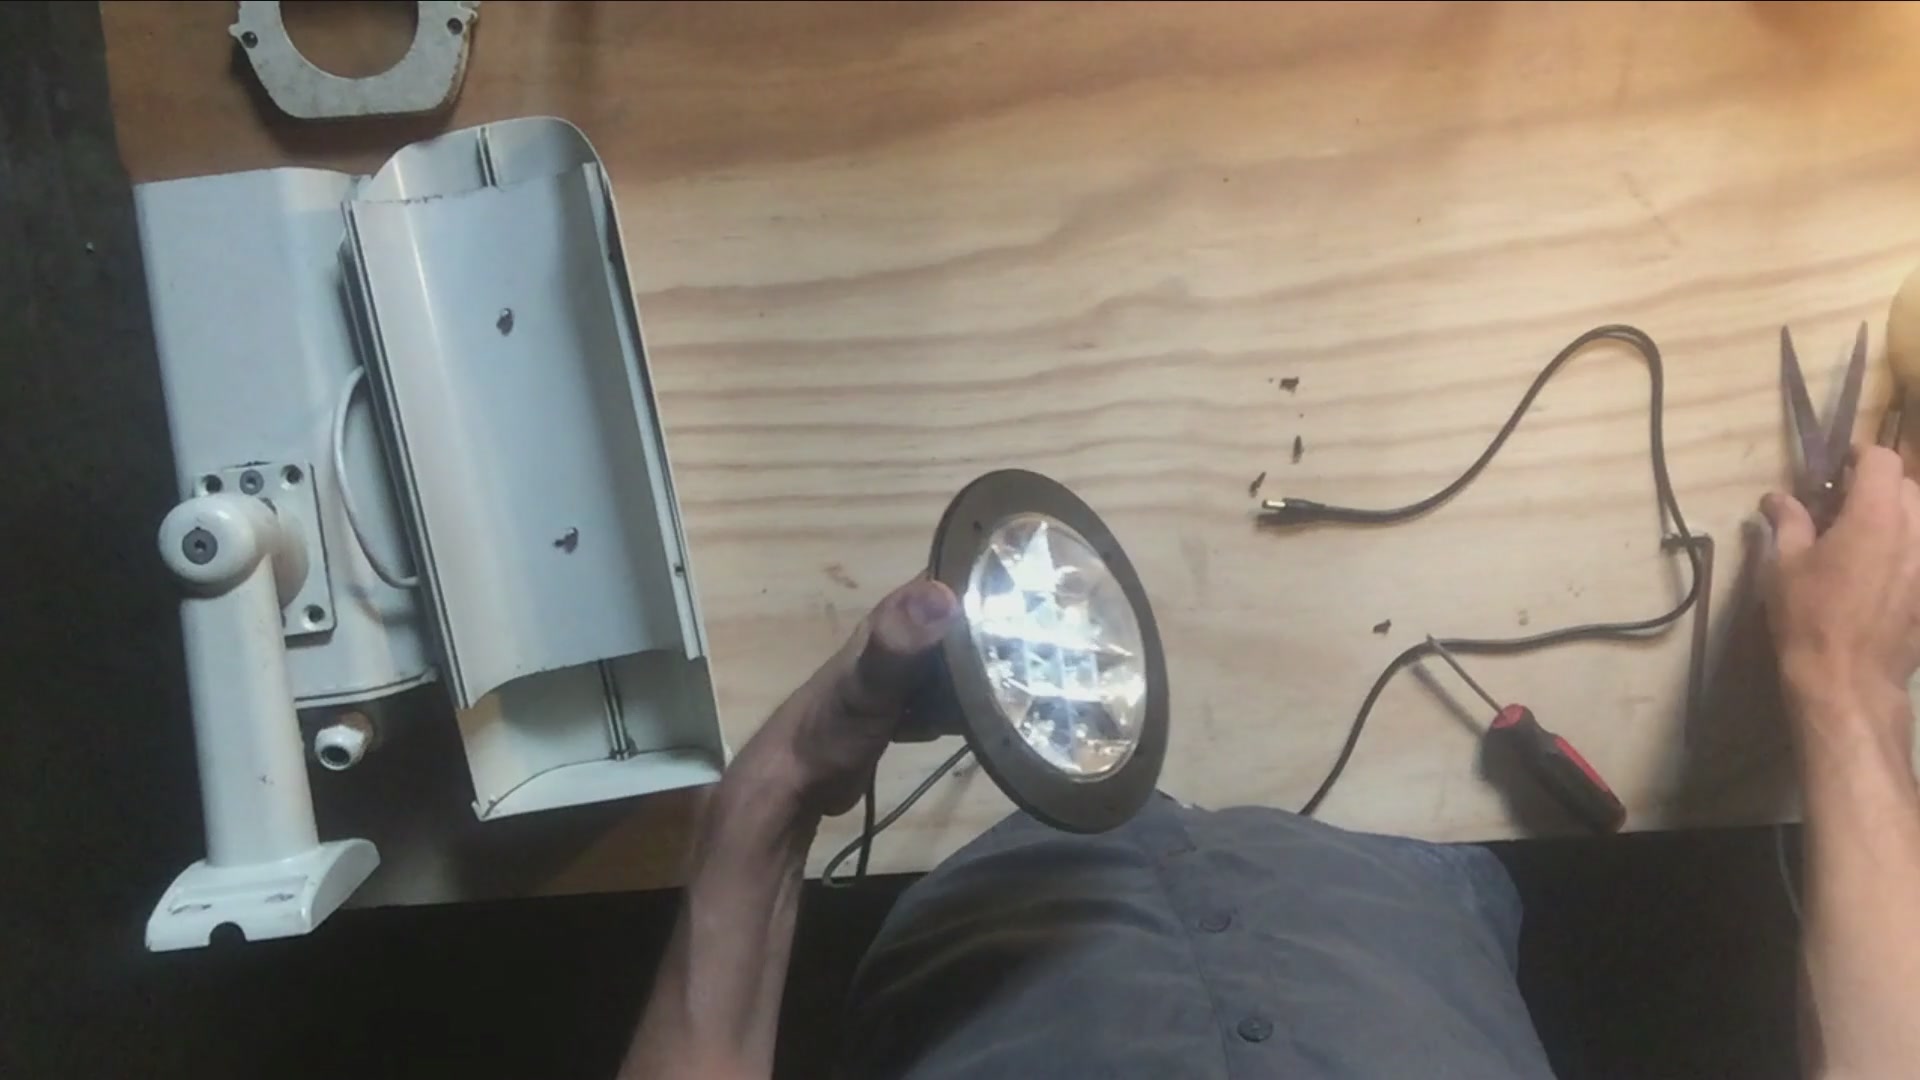
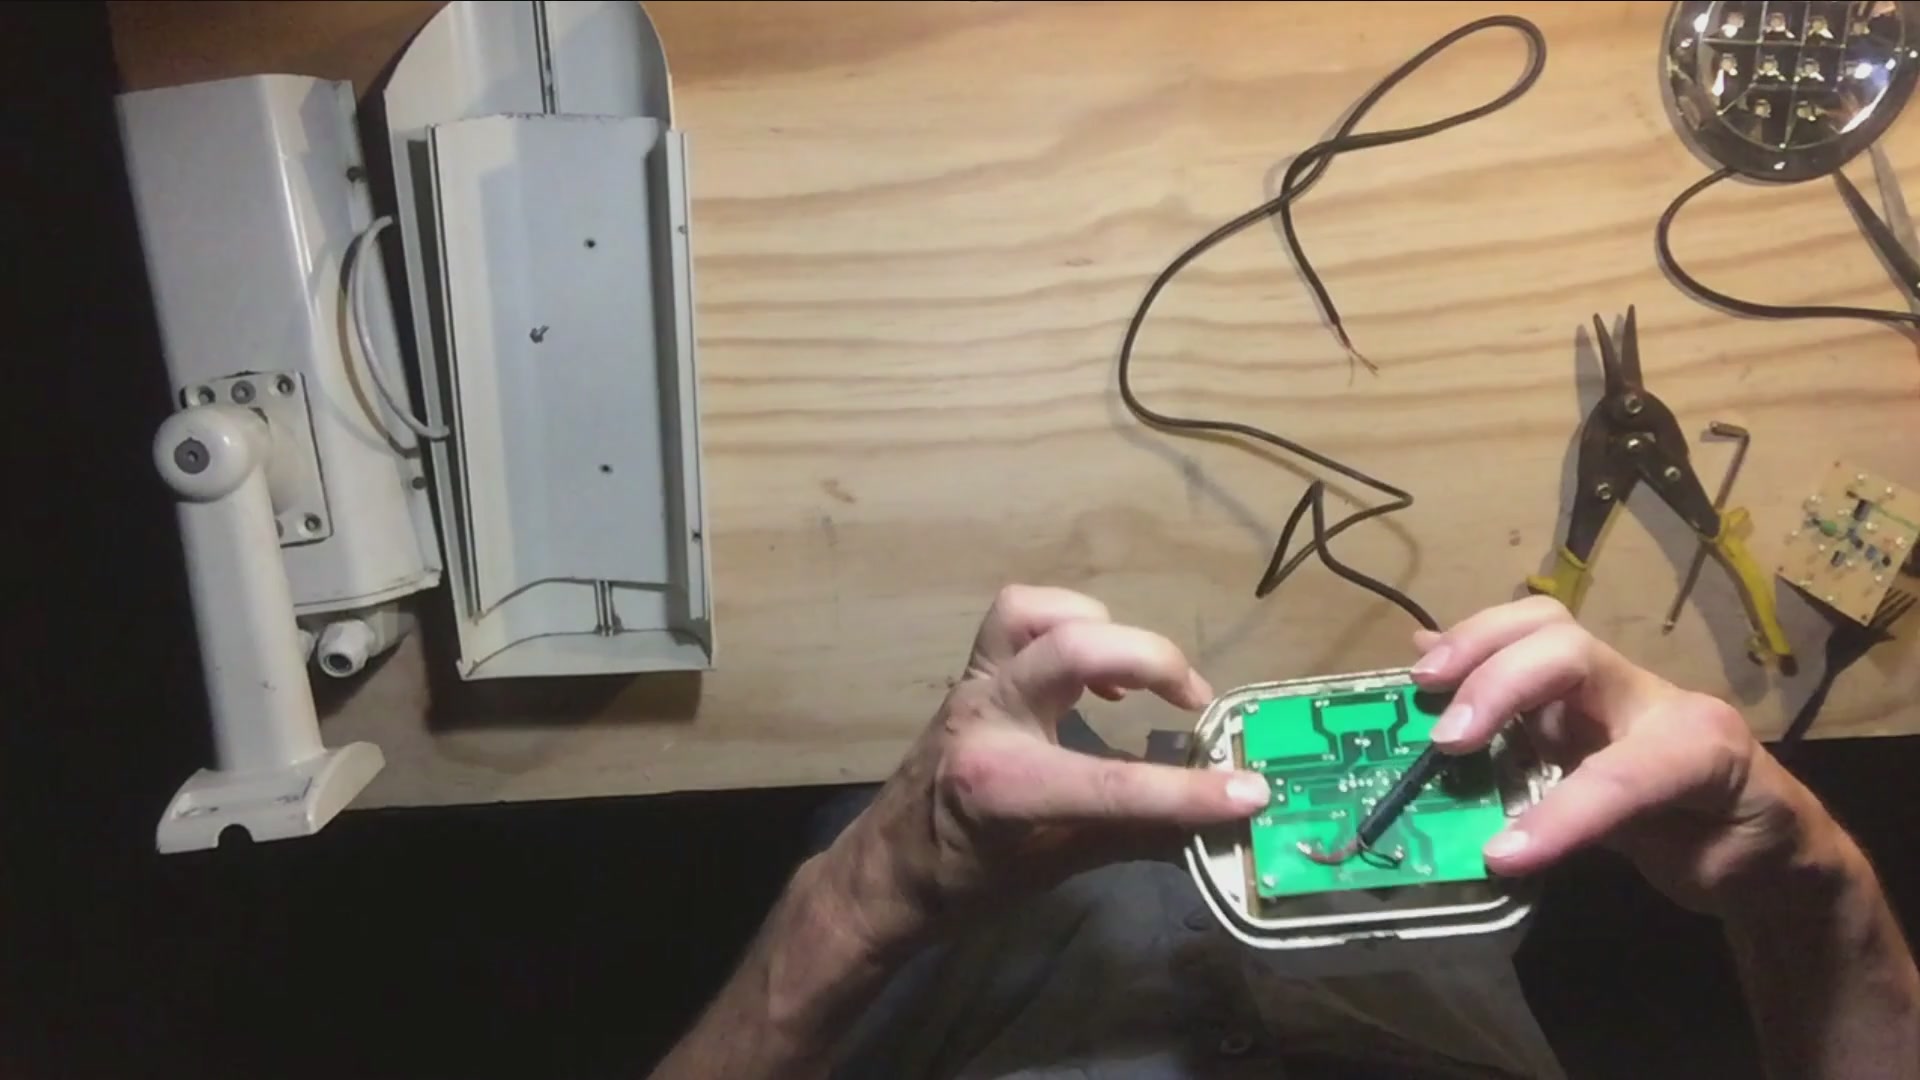
Re-purpose old LED lights from obsolete PV systems or torches lying around the house. I had an old 12-volt PV system and I figured because all the components are plastic I could just cut it into the shape that I need. I have twelve LED lights but I think depending on the power that I will be supplying to it, I think only four will be able to be powered up [this was the case!]. Of course we will be basically making a dummy CCTV camera so it won’t be able to record video, but it will look the part. Lets’s see how one can give these cameras a new fresh look and new lease on life.
STEP 2
Measure and cut the LED lights down to correct size, but be careful not to damage the circuit board behind it. 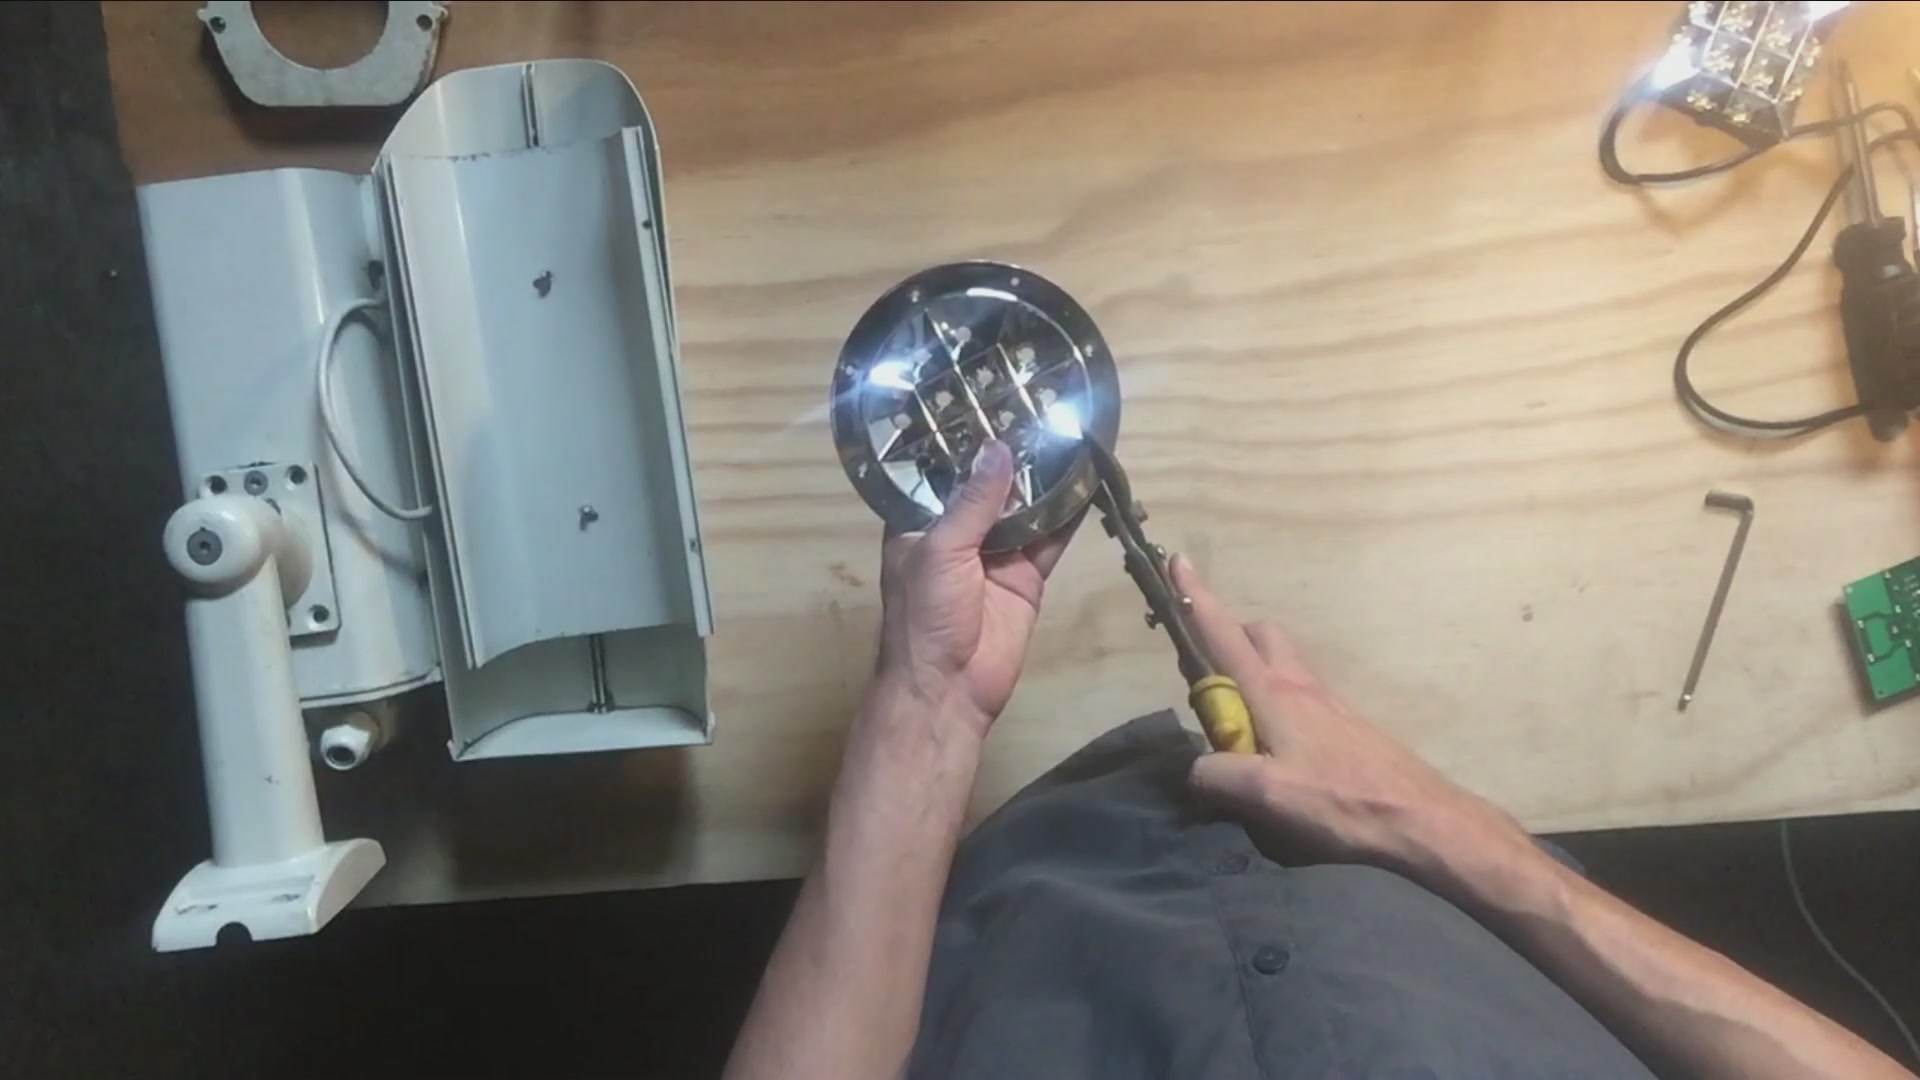
STEP 3
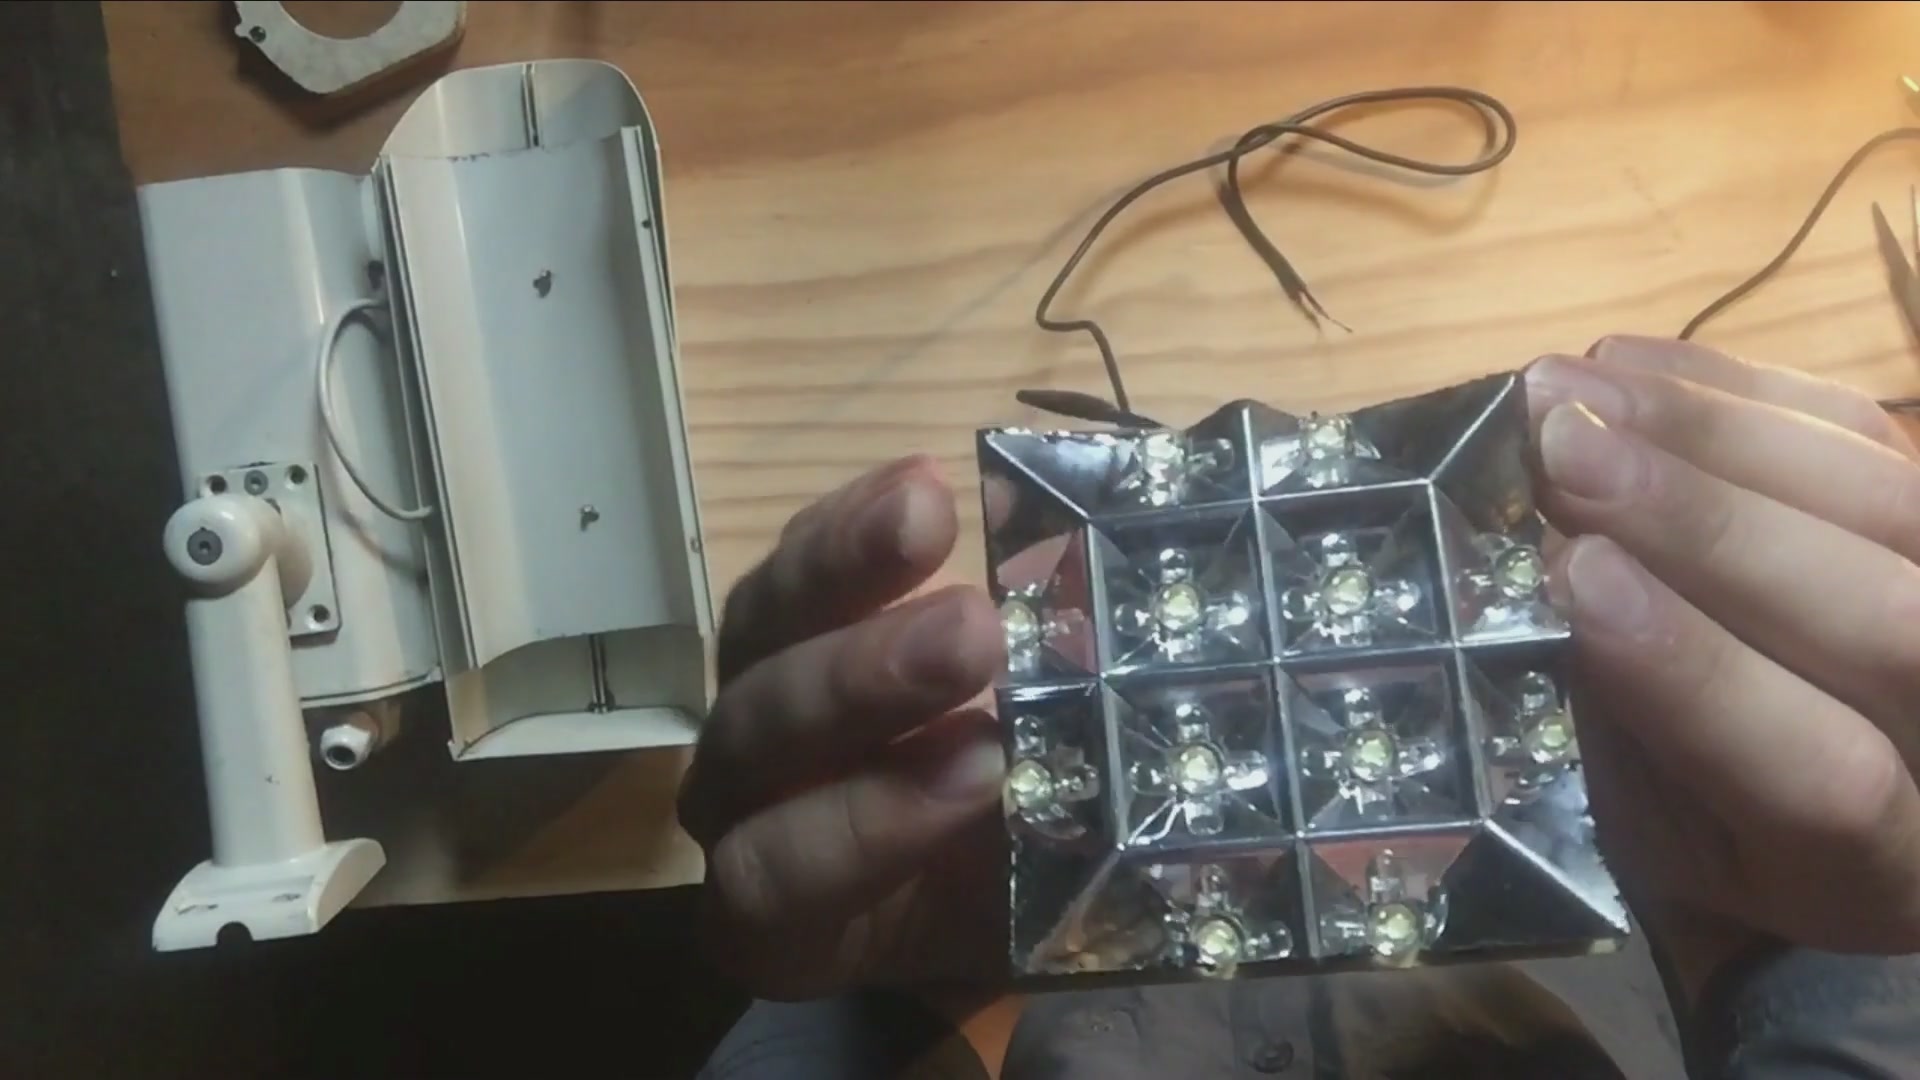
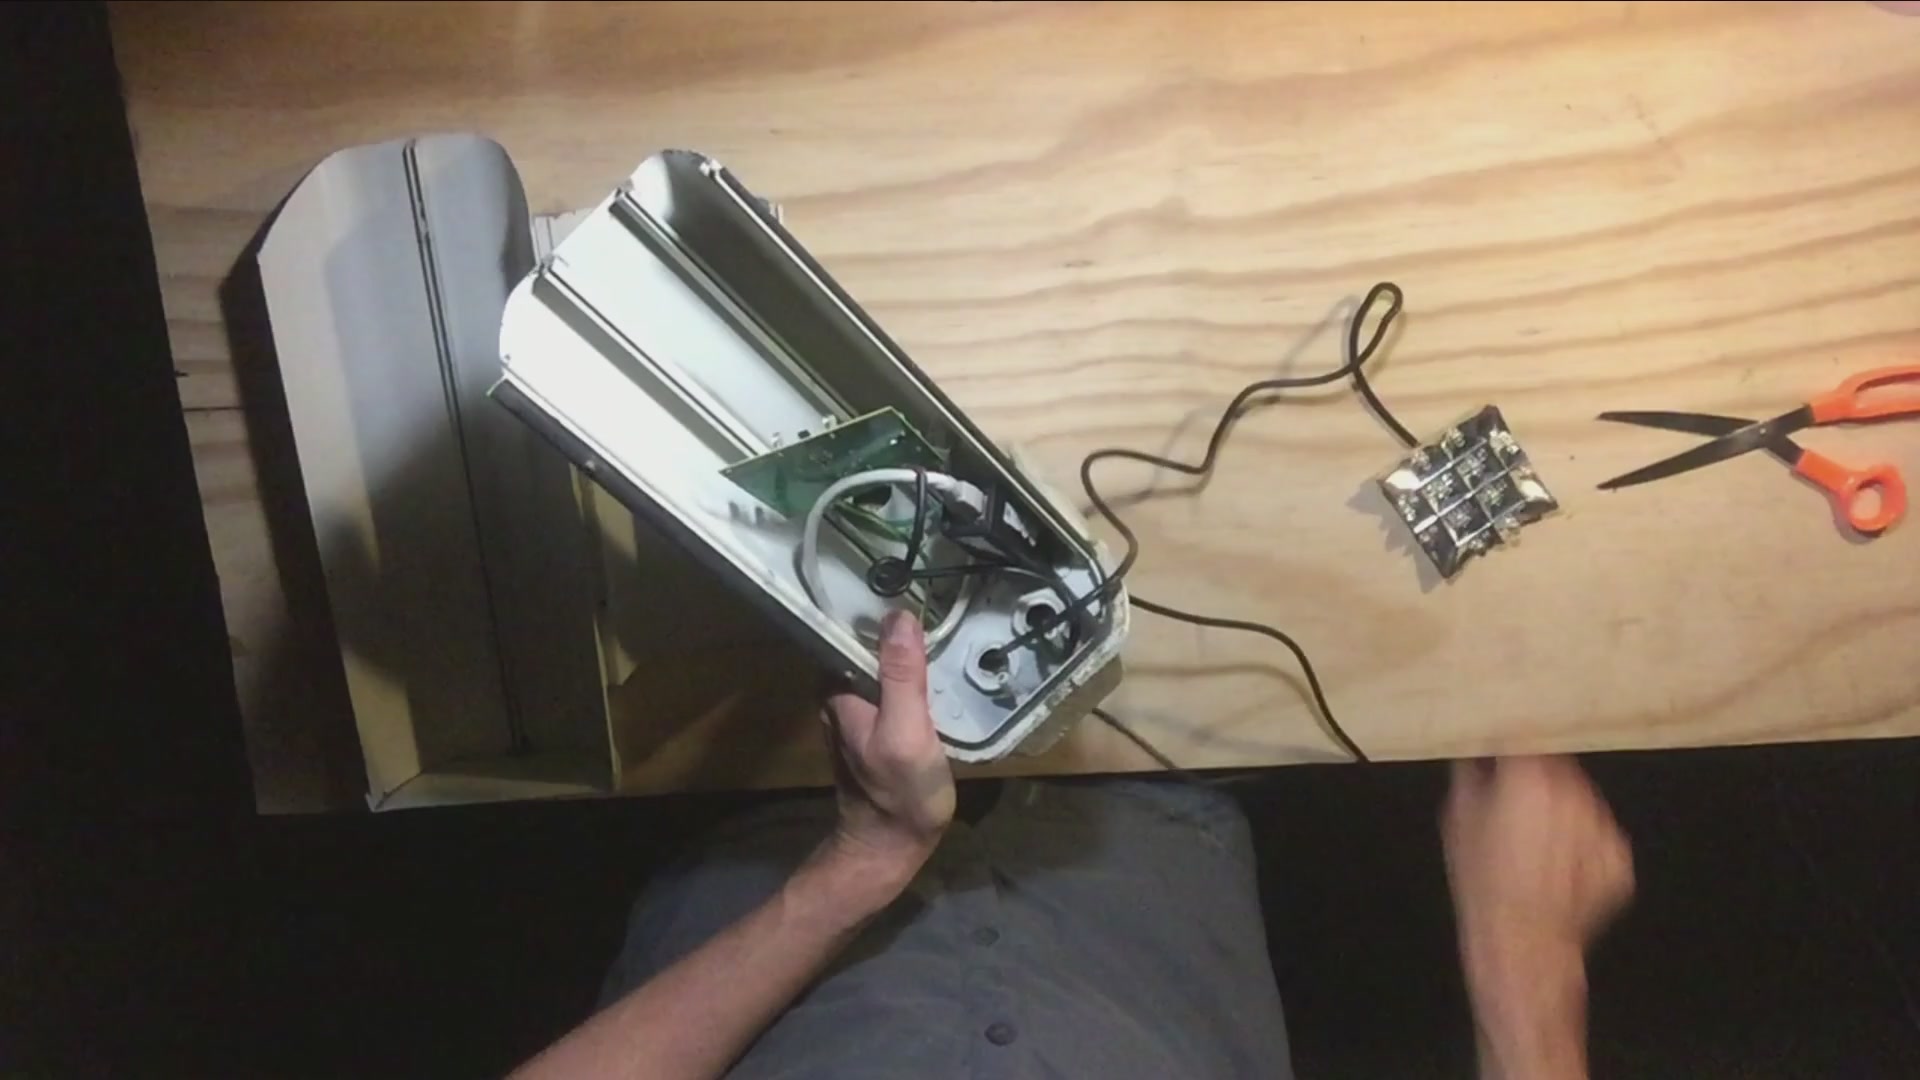
Make sure it looks REAL. This is what it will look like.
STEP 4
To create the illusion of a REAL security system, have power and data cords come out of the back of the CCTV camera and towards the house.

STEP 5
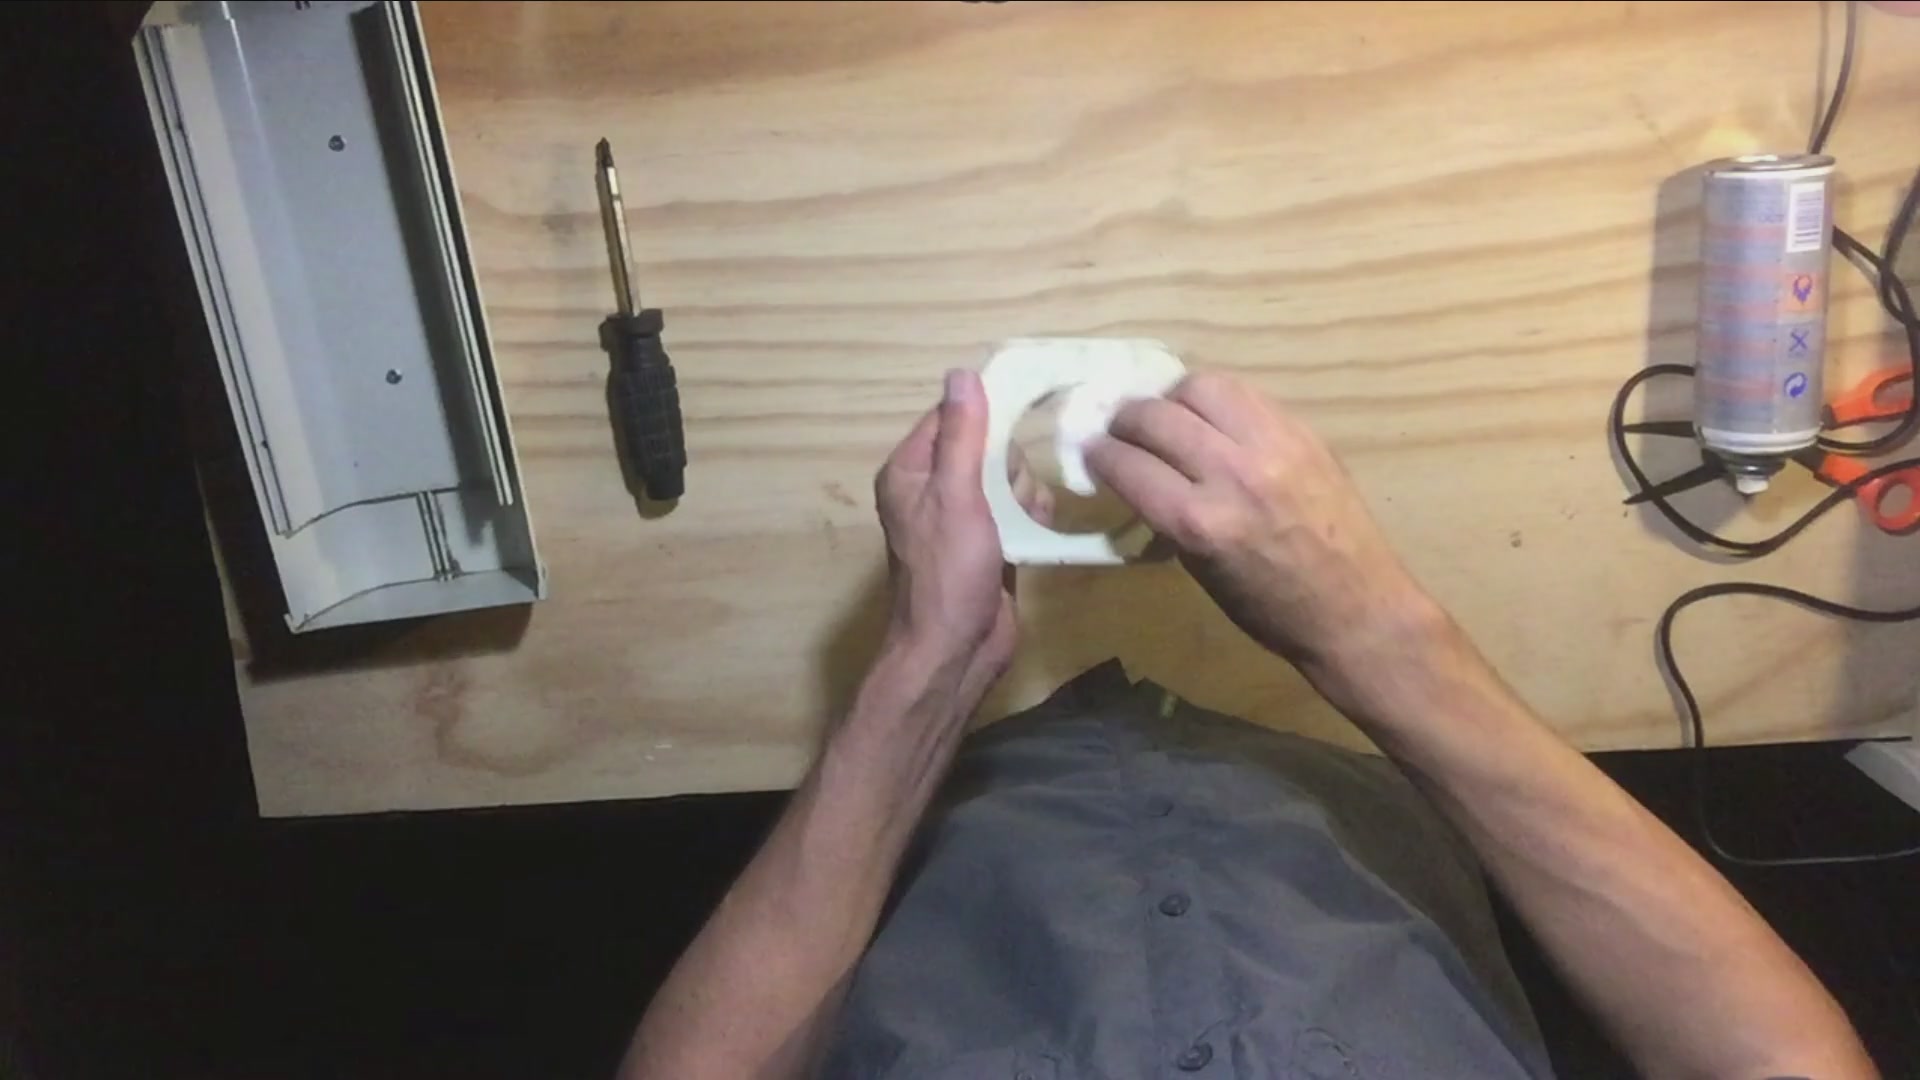
Clean the inside and outside of the front glass pane to reveal the inner LED lights clearly.
STEP 6
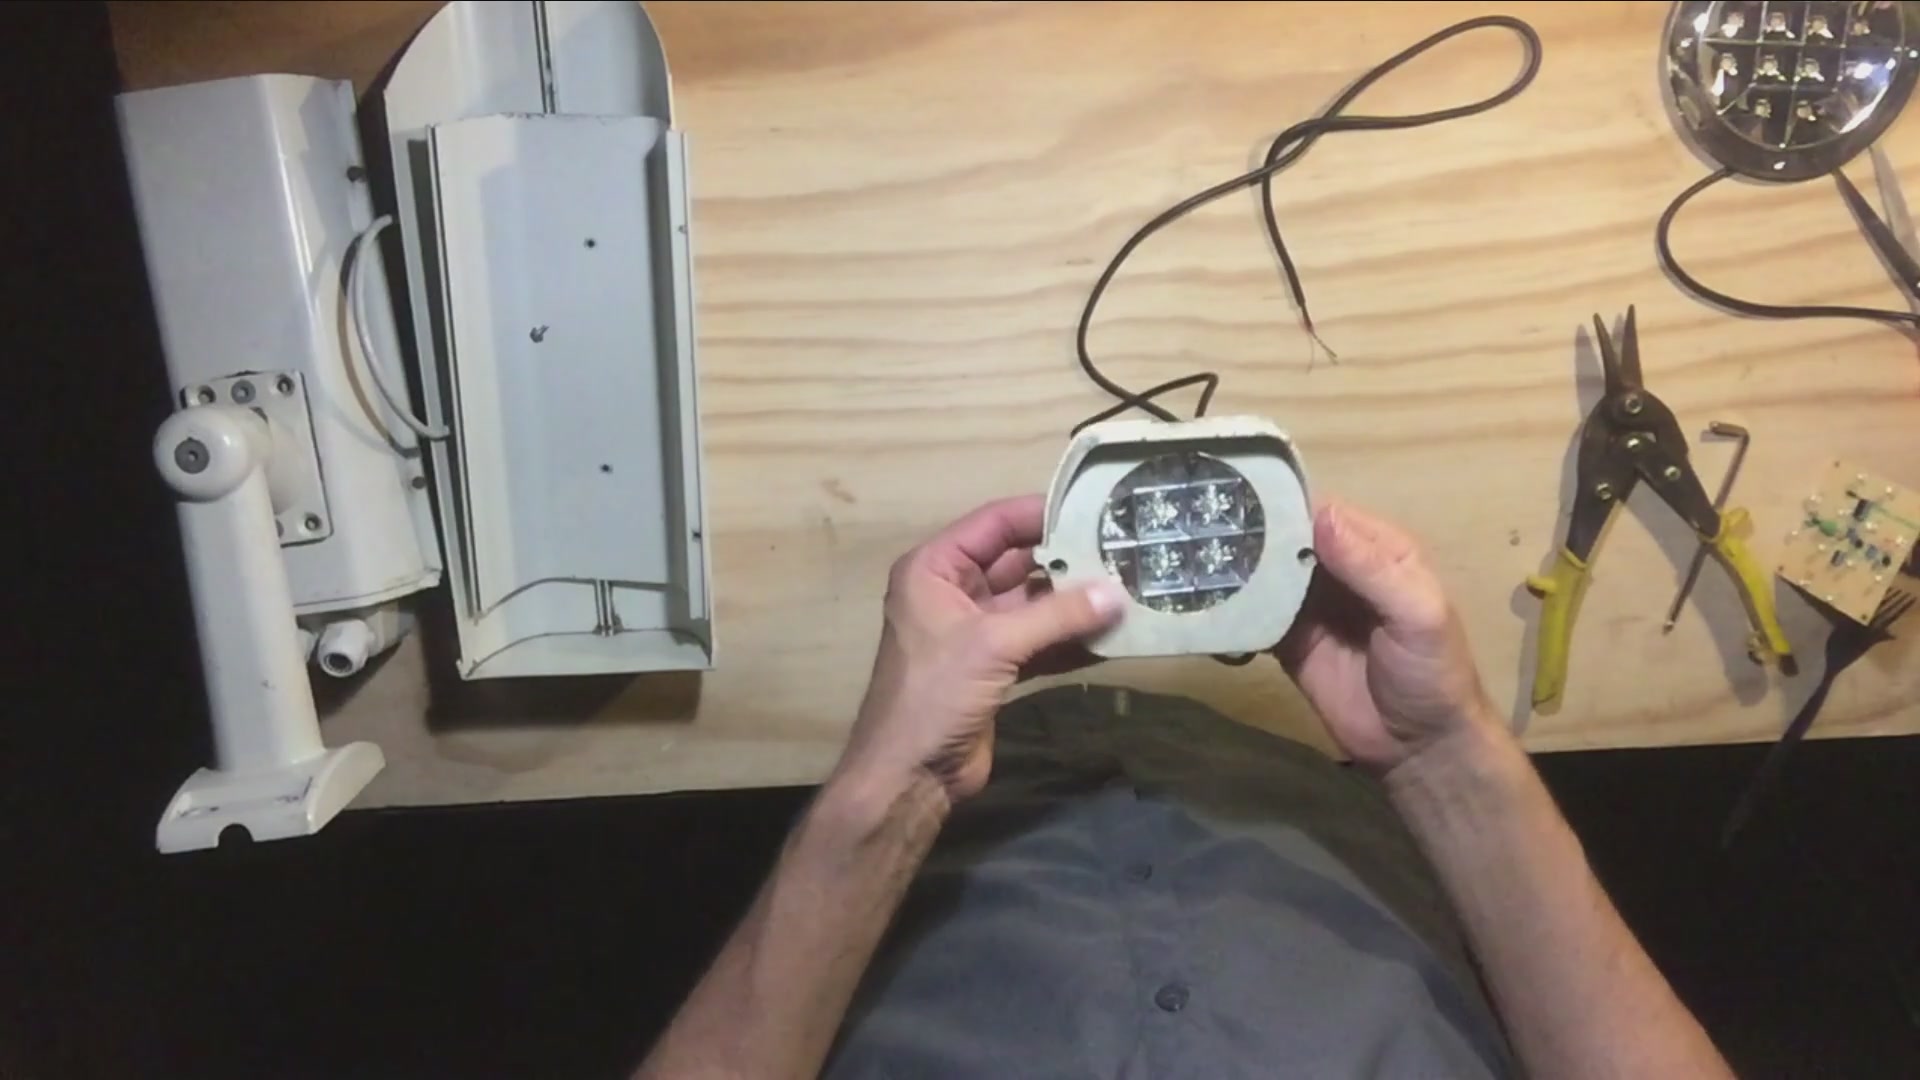
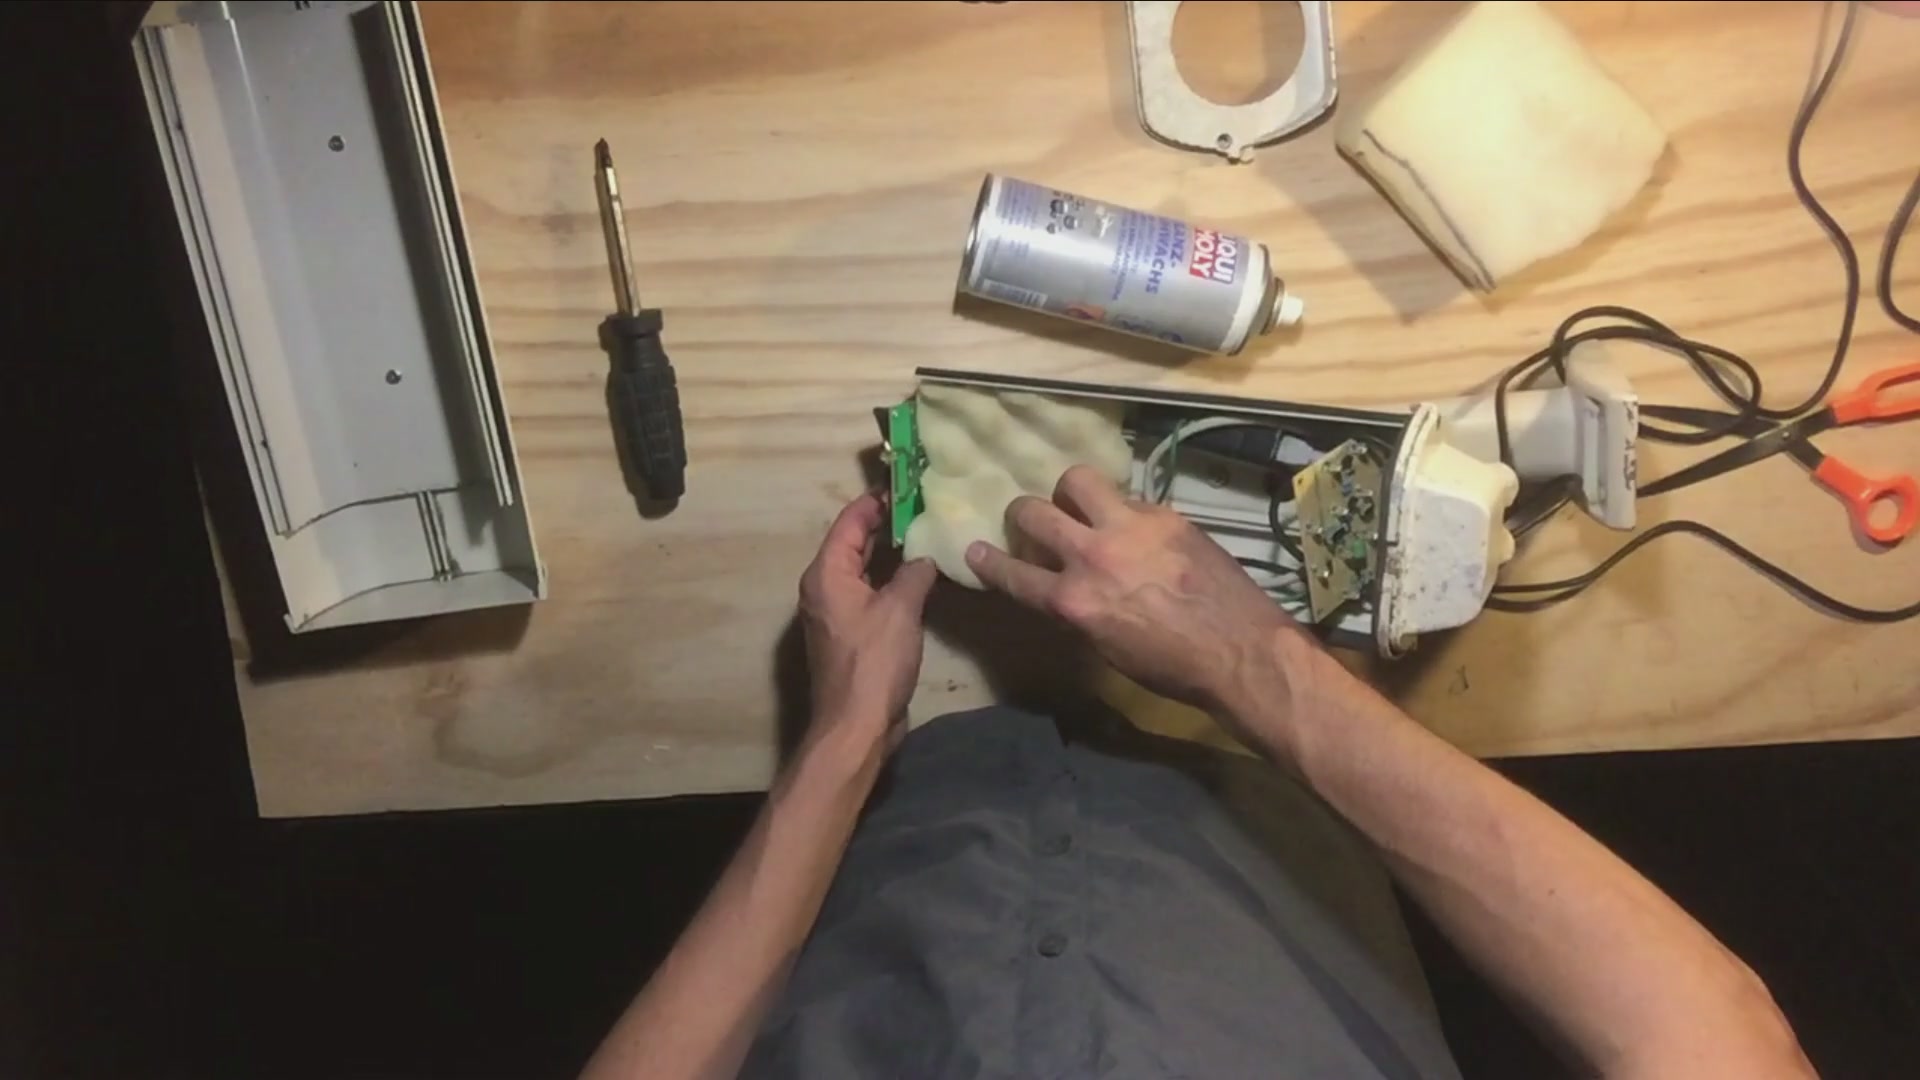
Insert sponges to secure the LED circuit board toward the front of the camera. We used an old oil spray can to hold it all together. It will be important to keep the components dry inside the camera, because you may want to convert it into a working system in the future. There’s a very specific way of putting it back together and it’s a very old system, but very effective at closing off the camera and to ensure a tight seal. All we need to do now is to lock down the glass plate window on the front to ensure that no moisture gets in and that the LED lights can be clearly seen from the front. The power cords are quite long but you can extend them into the house quite easily with standard, readily available electrical wire as they only have a positive and negative wire inside.


STEP 7
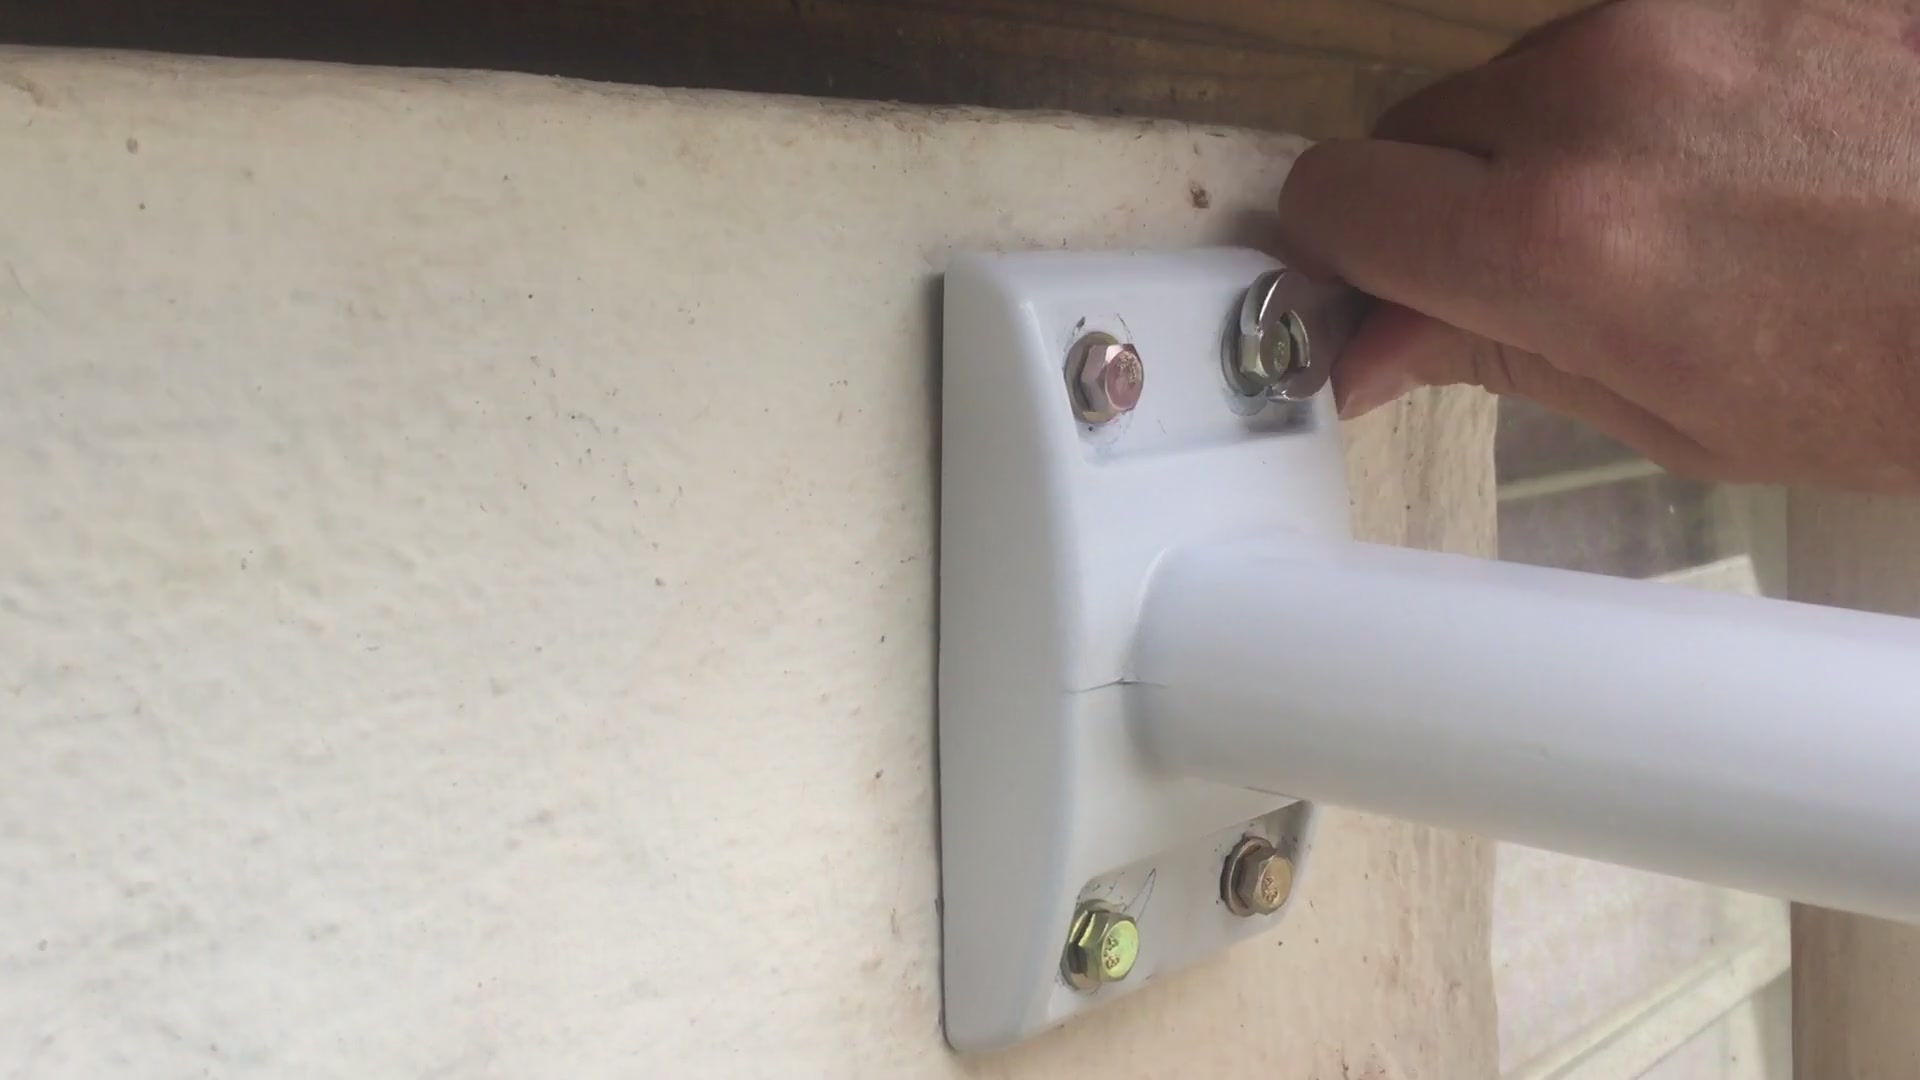
Remember to go to your local hardware store and buy strong Rawlbolts / Rawlplugs, to prevent easy theft but also to ensure that the installation looks expensive and performed by an authorized installer. If somebody is aiming to target your premises they WILL be scoping out your surveillance equipment in the daylight and even up-close and out of view if they get the chance.
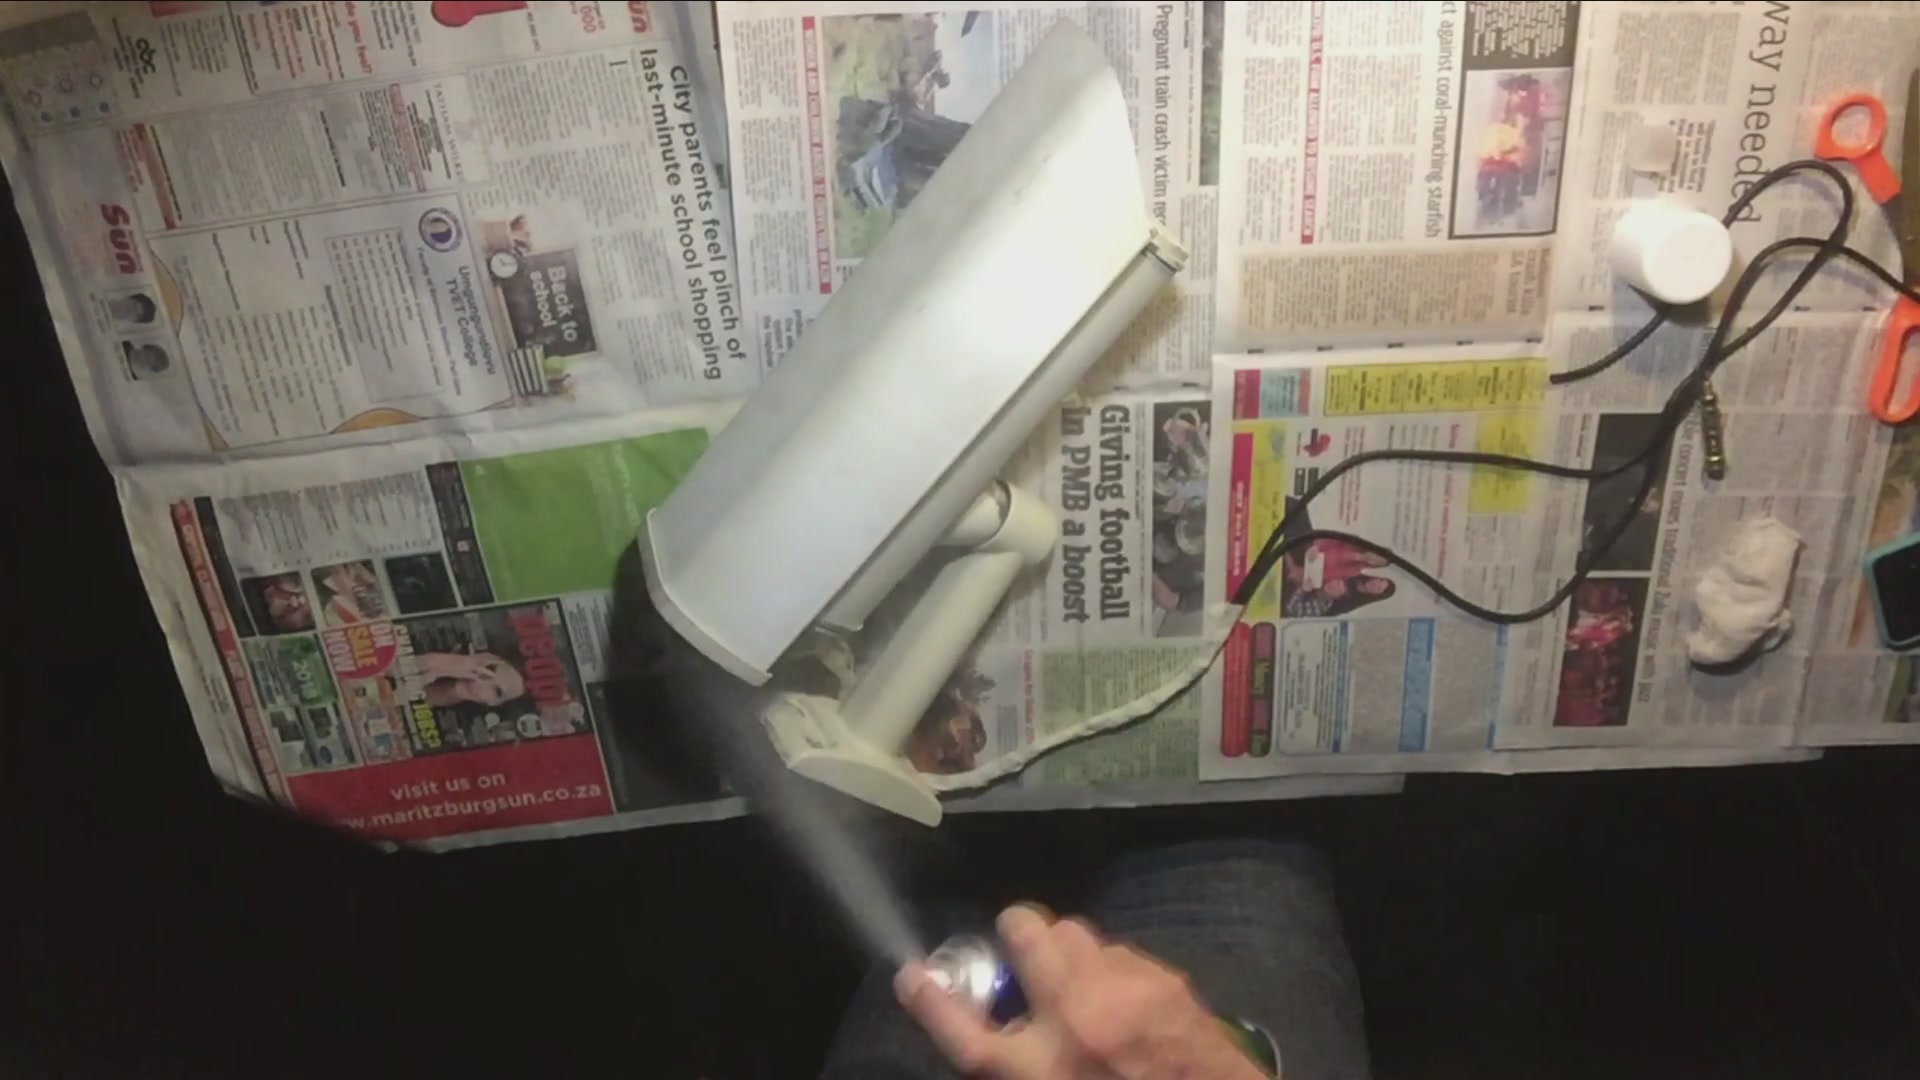
STEP 8
I was thinking of spray-painting the individual components of the camera, but because it’s just a dummy camera and it will spend most of its life outdoors I spray painted it as whole unit at the end. Let’s cover the parts that you don’t want spray painted, like the wires and the window pane with masking tape. Again this was very simple and easy and it took me no time at all to give it a nice glossy white surface covering. I do you feel that white is quite a good color as it stands out and can be seen from quite a distance. After watching paint dry all we need to do now is just remove the masking tape and reveal the clear glass pane and also remove tape around the cords and other covered surfaces. I also gave it a bit of a touch-up once it was erected onto the house wall.


STEP 9
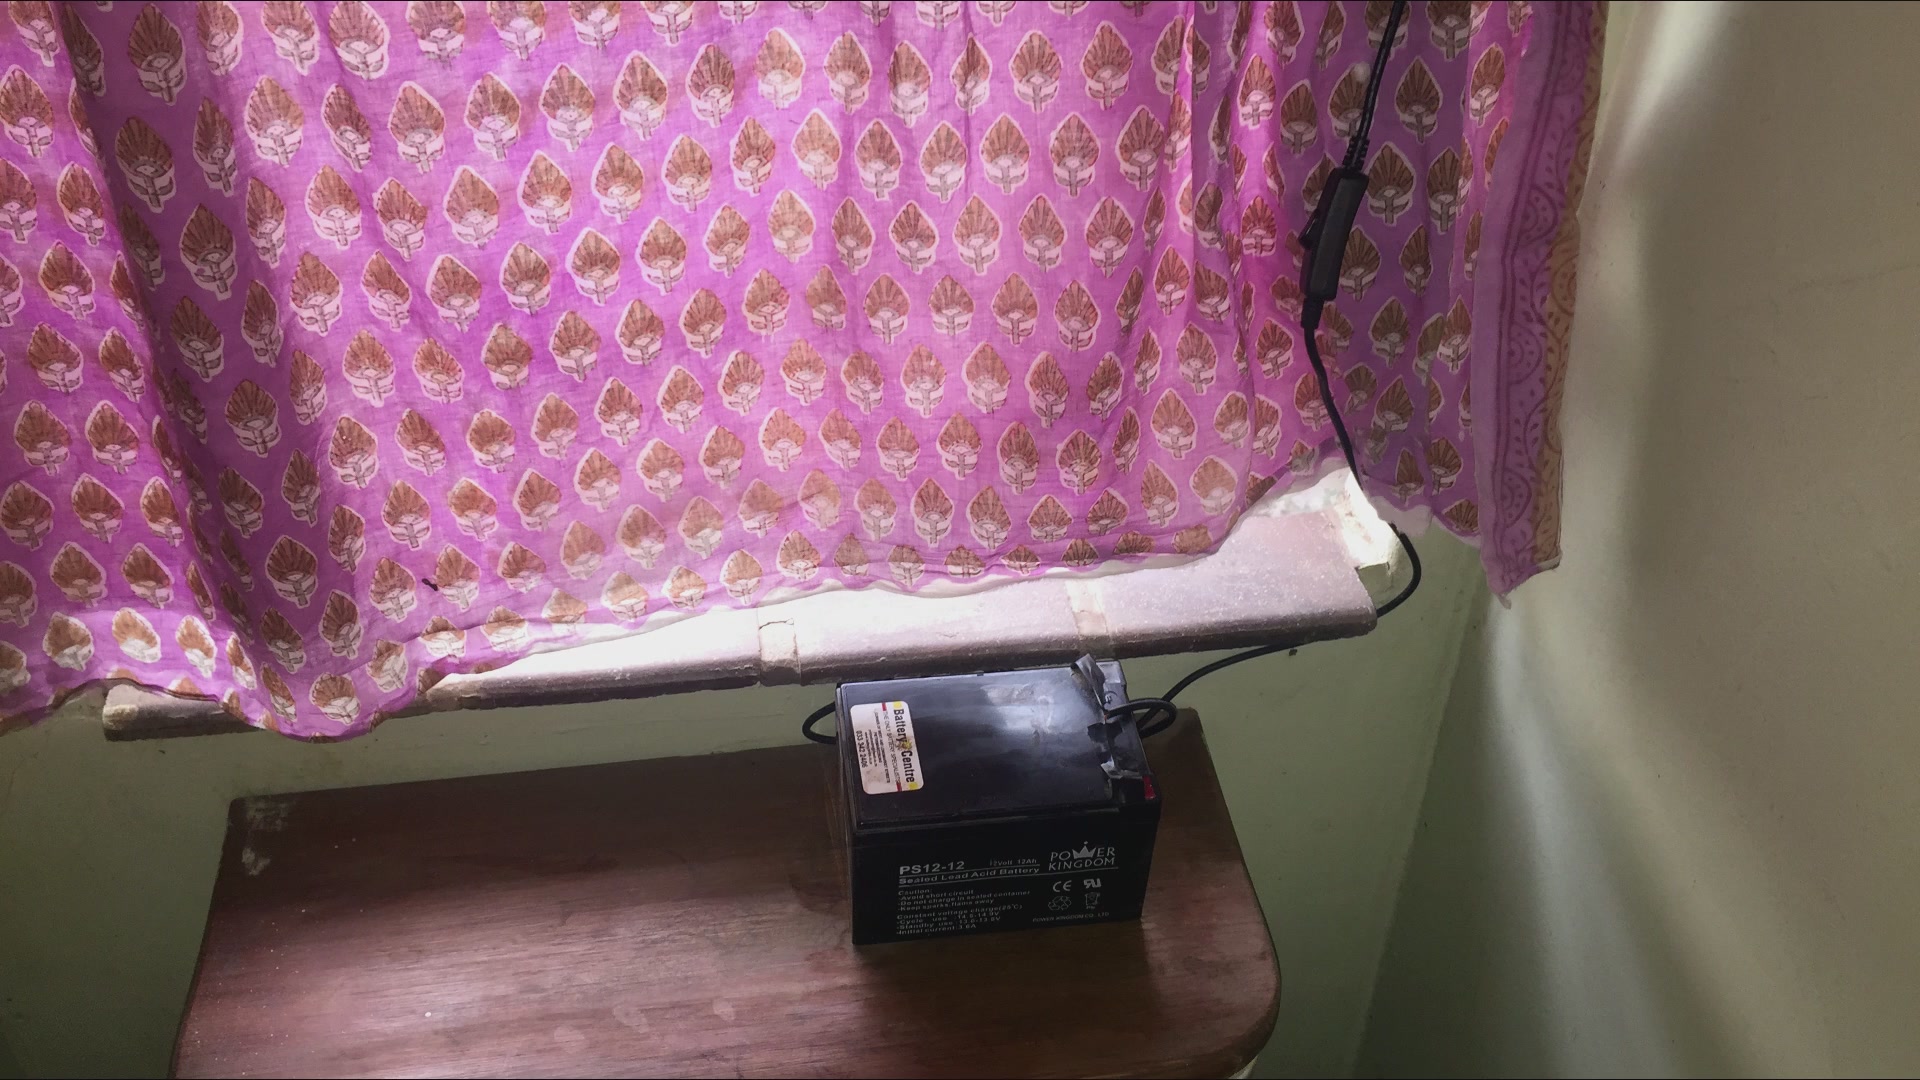
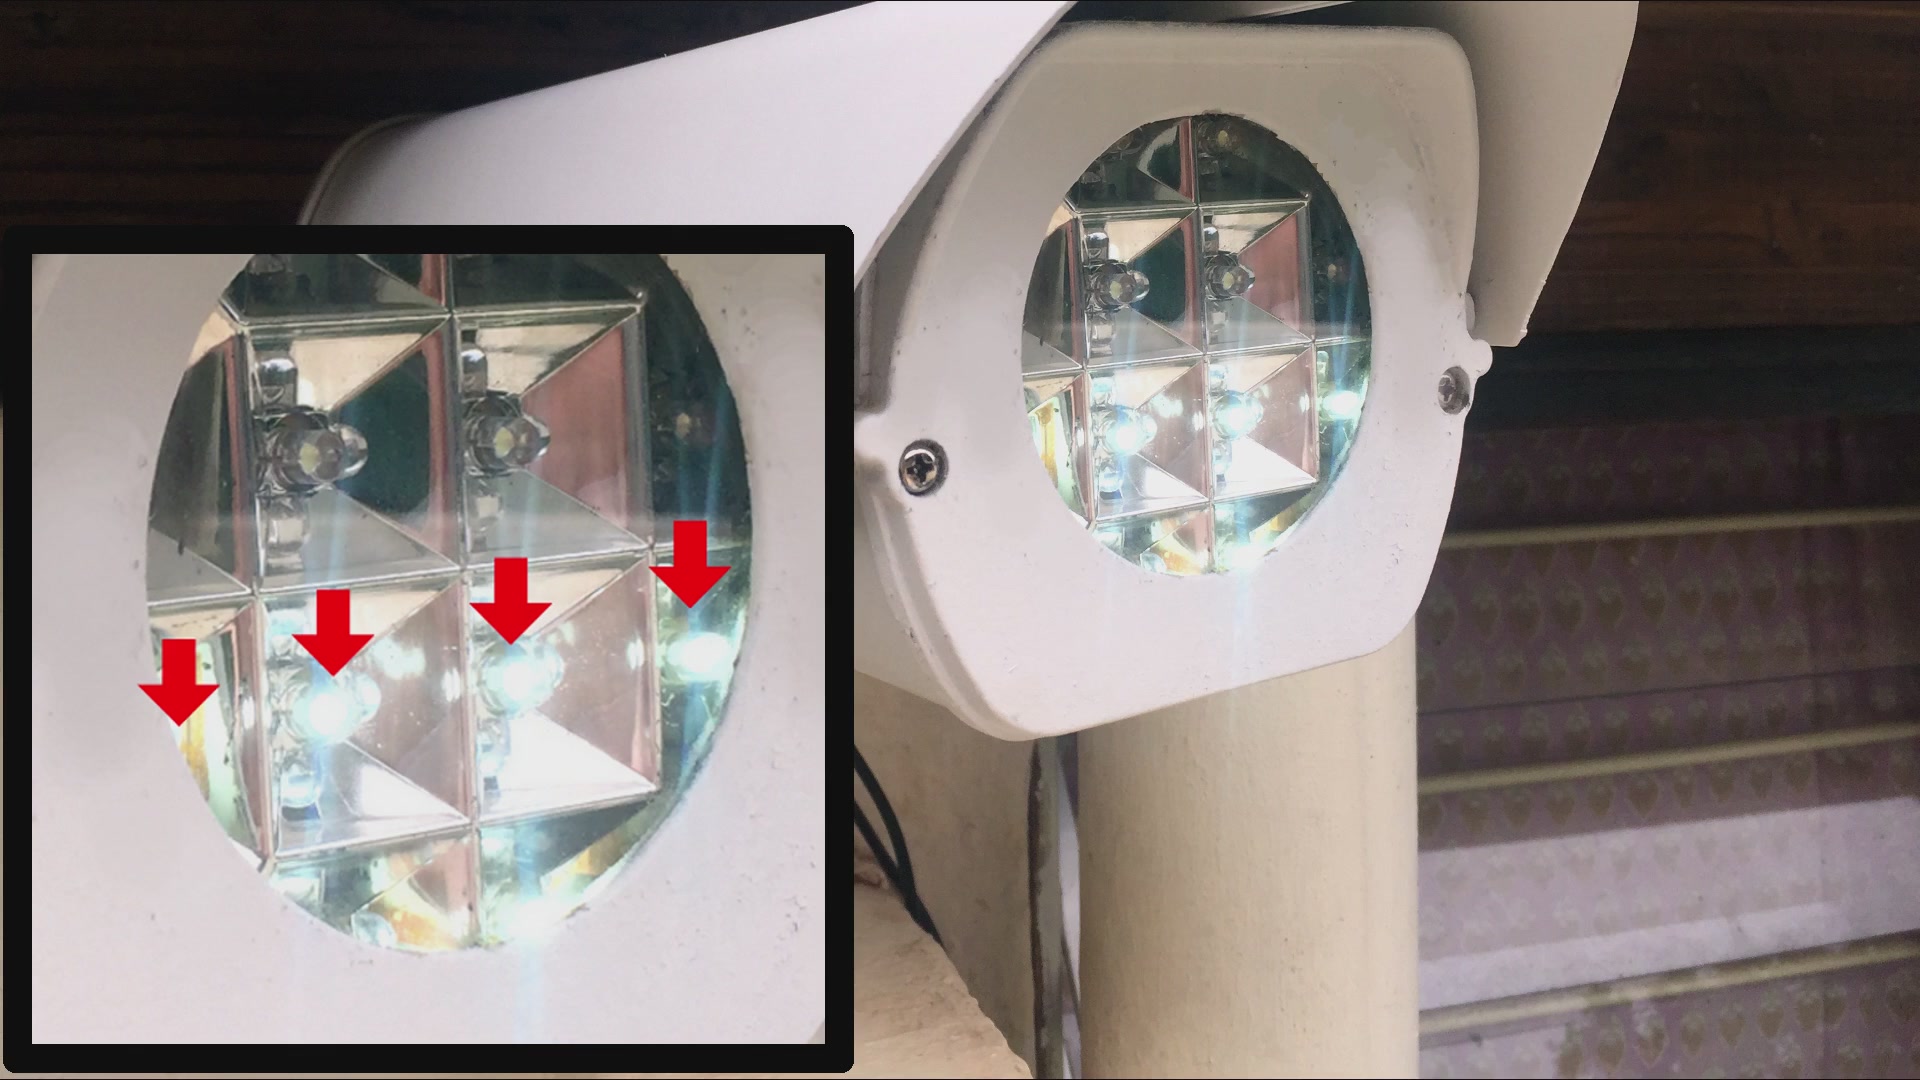
The next step is optional. Obviously I was lucky enough to find LED lights that can work off a 12V battery so in the images below I’m just demonstrating what the lights looks like. You don’t want it to look like a light, but because they are LED they don’t shine like a torch and I felt it did look quite realistic and it was definitely noticeable from quite a long distance away even in the daytime. I added a switch later and positioned the 12V battery nearby without lengthening the wires much. I only switch the LED lights on when I leave the house and at night. Once the battery runs flat I’ll simply connect it up to the backup generator which has a hand start or I’ll buy a battery charger. So far it has been left to run for over 100 hours and still going strong.


STEP 10 (Final Step)
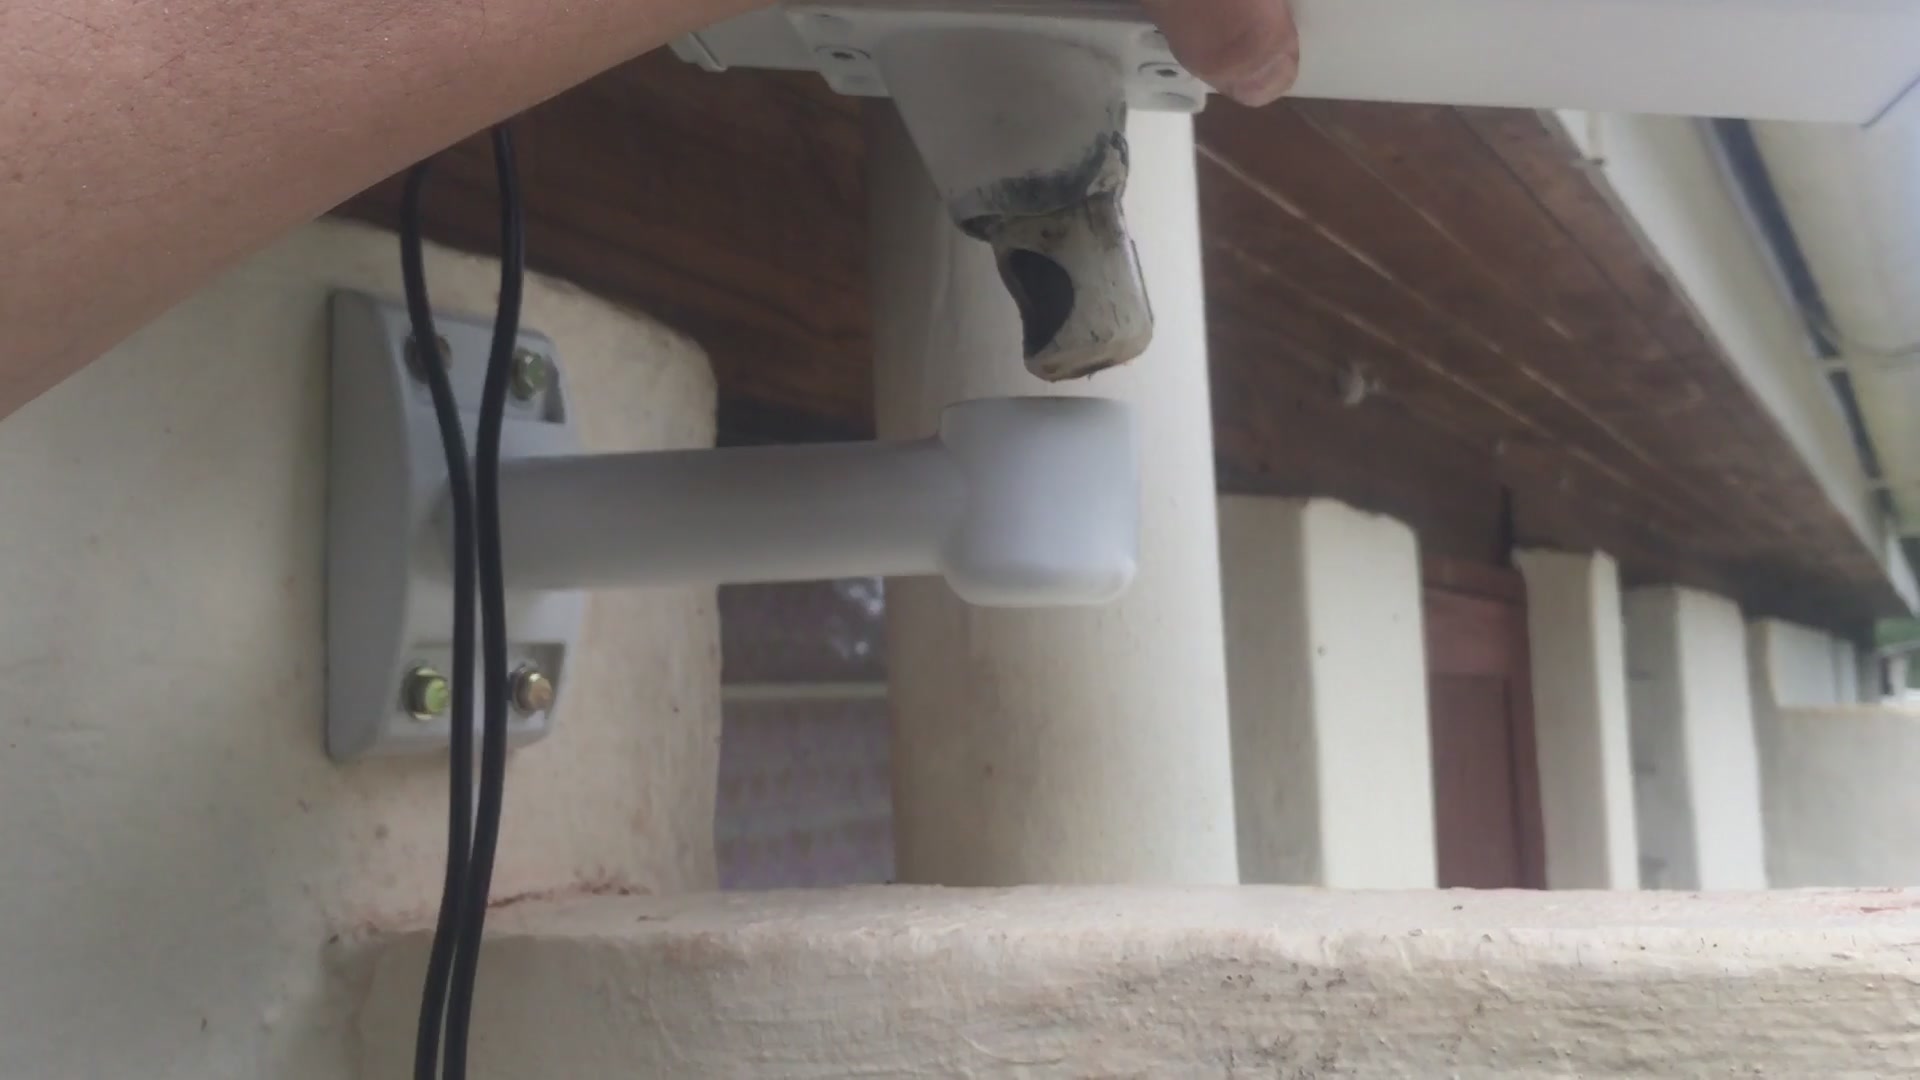
Drilling the holes for the bolts and attaching the bracket to the house wall was very simple. Just make double sure that it is in the right place so the camera can actually function and overlooked your property. Tighten the bottom locking nut so that the camera can point in a fixed direction. Ours was aimed at the main entrance gate.


In this part of the world we experience quite severe rain storms so the new paint job is necessary for this installation to survive for many years whilst not letting in any water into the internal parts of the camera. See the droplets on the camera.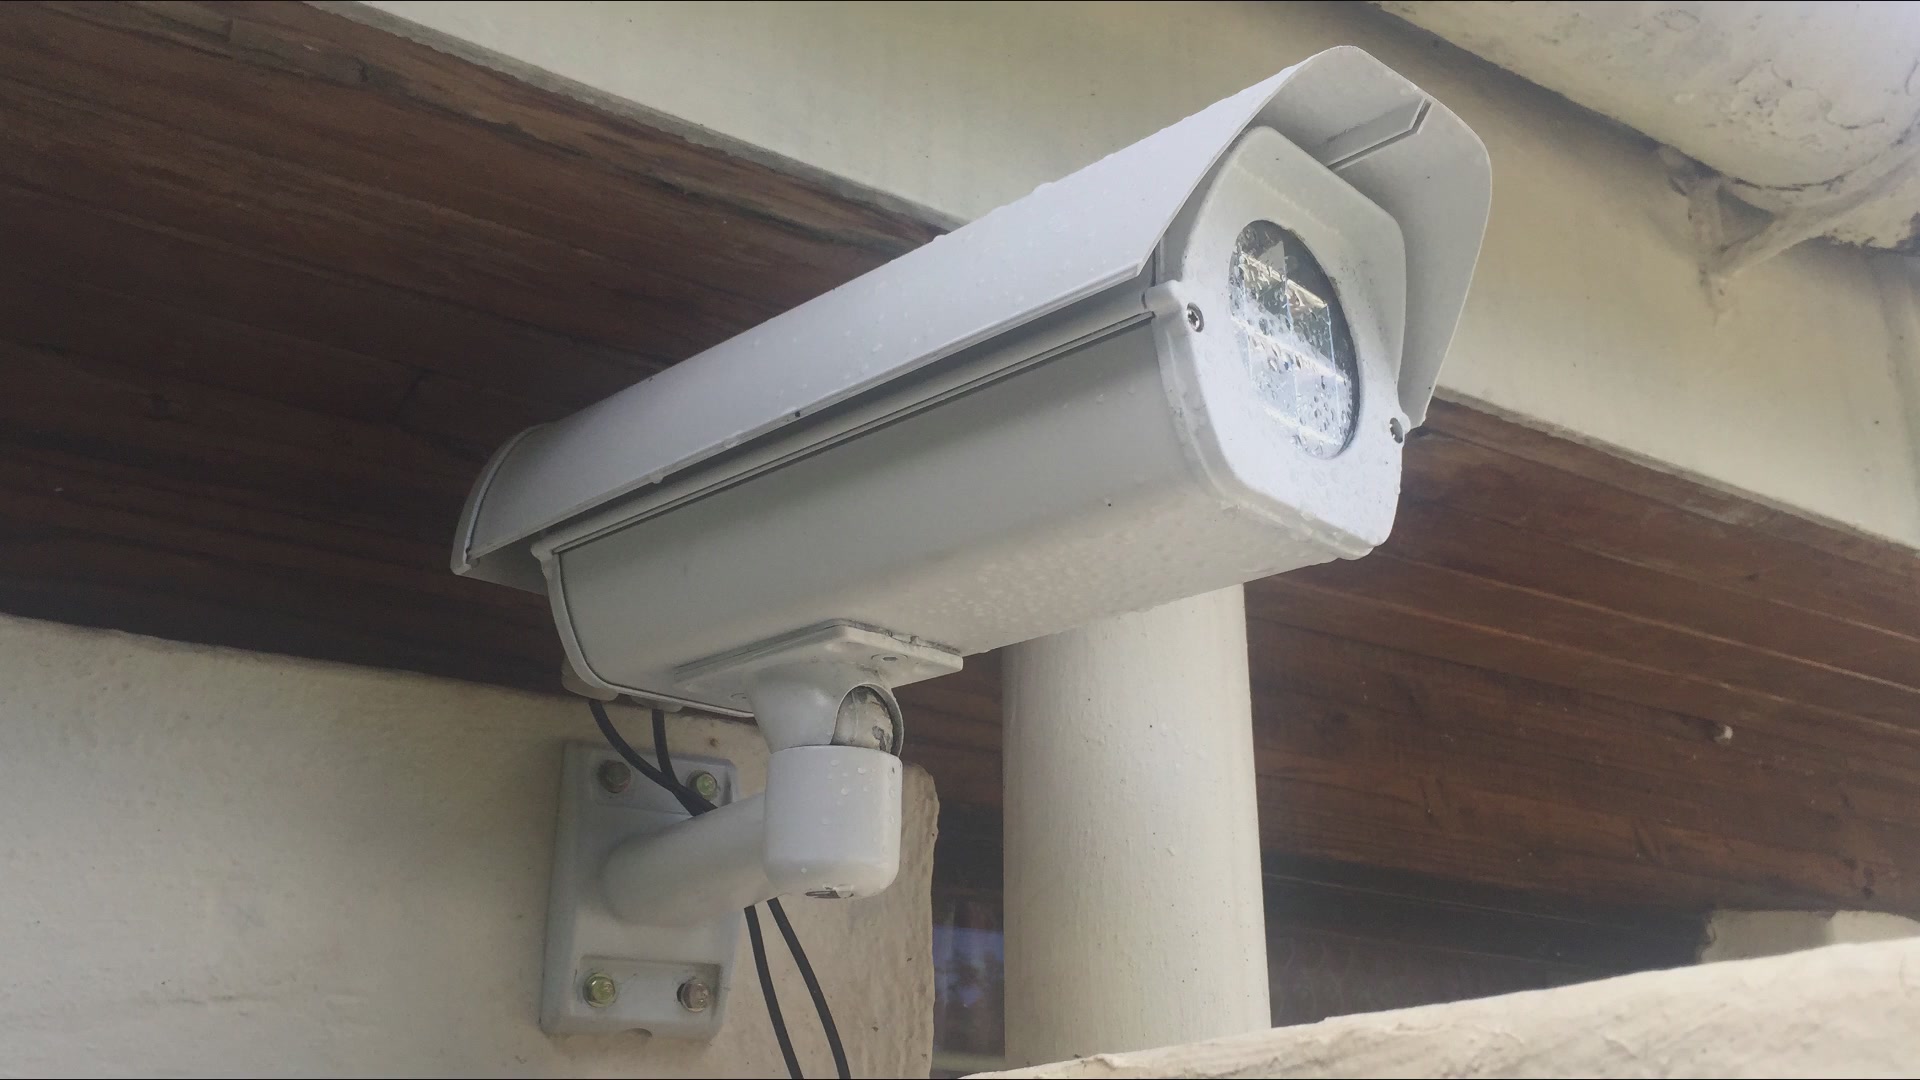
Here is a close-up shot of the LED lights in the daytime. At night it merely shows that it is switched on and perhaps also to illuminate the area to be captured in front of it.
Create awesome content on YouTube using TubeBuddy: https://www.tubebuddy.com/vuthisa

![]()
![]()
![]()
![]()
![]()
![]()
![]()
![]()
![]()

wow these blog about that installing a dummy CCTV camera is a simple yet effective way to enhance the security appearance of your property. To begin, select a strategic location where the camera is clearly visible, such as near entry points, driveways, or high-traffic areas. Ensure the spot mimics the placement of real security cameras to create a believable deterrent. Once the location is chosen, mark the spots for the screws using the mounting bracket as a template. thankyou for these all information
Thanks!
Very helpful guide! Simple steps make installing a dummy CCTV camera super easy.
Thanks!
I loved how this post turns old cameras into realistic dummy CCTV setups—it’s such a clever, budget-friendly way to boost your security game. The step-by-step guide, especially the LED trick and solid mounting tips, makes it surprisingly easy and effective!